

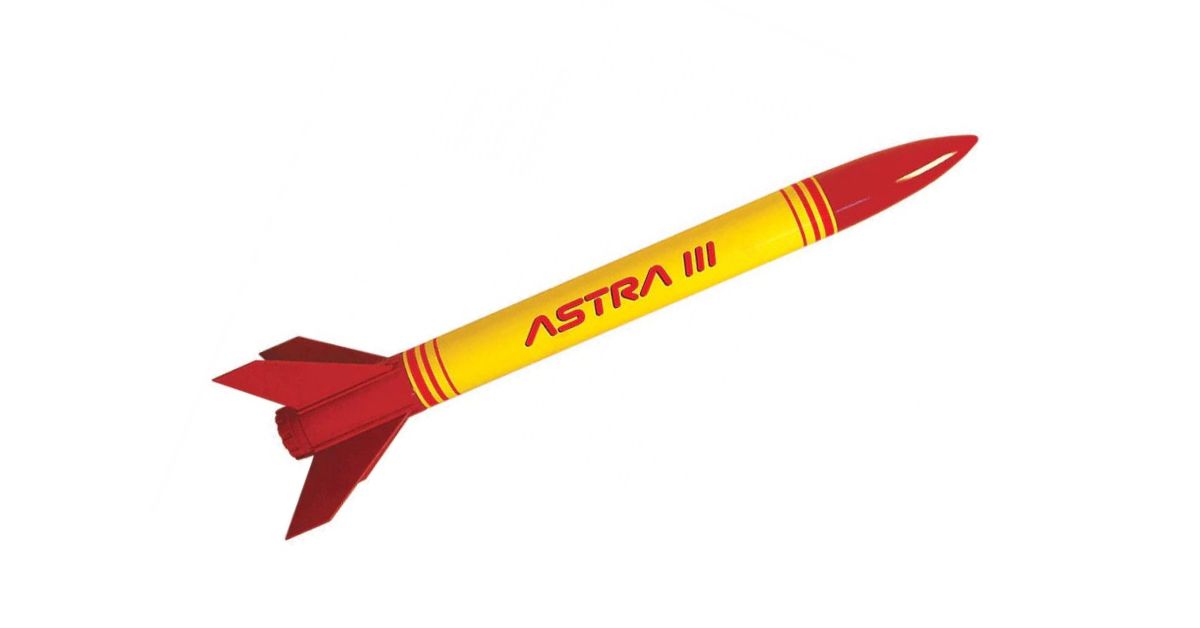
Building and launching model rockets captures the imagination like nothing else, but you need the proper materials for a successful blastoff. With this helpful guide, you’ll explore the electronics you need for a rocket launch so you can make every blastoff safe, successful, and unforgettable.
The Electronics of a Rocket Launch
Every successful model rocket launch relies on a few fundamental electronic elements. Whether you’re experimenting with basic kits or advanced builds, you’ll likely work with the following items.
1. Launch Controller
The launch controller acts as your mission command, sending the electrical signal that ignites the rocket’s engine.
Most launch controllers include the following:
- A battery compartment or clip (often 9V or AA batteries)
- An arming safety key, which prevents accidental launches
- A fire button, sometimes called “launch” or “ignition”
- Indicator LEDs to show when the circuit is armed and ready
With some starter kits, you’ll get a plastic handheld reusable controller. On the other hand, advanced kits may have launch controllers with wireless capability or more complex ignition checks. Regardless of the kit, check the batteries before each launch. Weak batteries are the most common source of failed launches.
2. Igniter or Starter
The igniter, sometimes referred to as a starter, sits in the rocket engine nozzle and connects the electronics to the chemistry. When you press the controller’s fire button, an electrical current heats the igniter, which lights the rocket’s propellant.
Most rocket launch kits have ready-to-go igniters that attach directly to the engine. You secure them in place with a tiny plug, making setup fast and safe.
Estes Solar Starters, Quest Q2G2, and custom nichrome wire igniters are great. Use only manufacturer-recommended igniters for your engines. Always keep spare igniters! They’re prone to damage if handled roughly or if the launch doesn’t go as planned.
3. Launch Pads and Electrical Connections
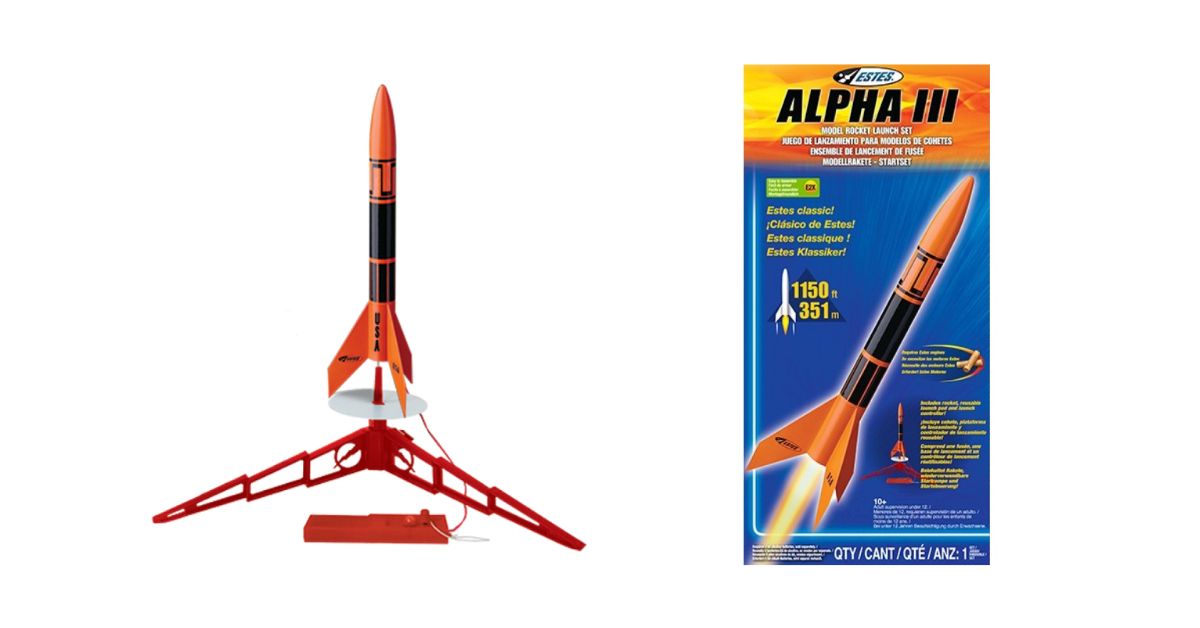
The launch pad is the foundation for all your launch electronics, protecting wires and making setup a breeze. Key features include built-in electrical leads for fast connection to the igniter and insulated clips (called “micro clips” or “alligator clips”), which keep everything secure. Other features are rotating or pivoting rods for adjusting the launch angle.
Premium launch kits may include a blast deflector to shield the pad and wires or a sturdy base that supports larger model rockets. Estes pads are industry favorites for their simple, fold-out design that integrates a reliable electrical circuit pathway.
Before every launch, test the wire continuity to prevent disappointment when it’s go time. Many controllers have an LED for this purpose.
4. Battery Power Source
Your rocket’s liftoff depends on a controlled burst of electricity. That means reliable batteries are critical. Some battery options include 9V batteries, AA or AAA batteries, and rechargeable lithium packs or external power sources.
Check your kit’s instructions for the recommended type, and keep spares on hand. Fresh batteries produce a faster, hotter igniter burn, boosting safety and success rates.
5. Safety Electronics
Safety is at the heart of any educational STEM kit. Many rocket launch kits have security features, such as two-step arming (insert safety key, then press “launch”), alarms to confirm when the circuit is live, and signal lights for outdoor settings.
If you’ll use a DIY setup, consider adding a continuity tester in line with your launch circuit to connect everything properly.
Electronics by Rocket Launch Kit
There are several different types of rocket launch kits to choose from, so read along to discover the most popular starter packs and modular kits.
Estes Rocket Launch Kits
Estes rocket launch kits have made rocketry accessible to millions by combining clear instructions, beginner-friendly components, and reliable electronics. The electronics include an electron beam launch controller or something similar, such as a plastic, handheld, battery-powered option, with a safety key and fire button. Other inclusions are launchpads with integrated wiring and sturdy clips, Estes Solar Starters, and indicator LEDs for circuit continuity and arming.
You’ll need fresh AA or 9v batteries (depends on manufacturer) and spare igniters (especially for group launches or first-timers). From safety-first controllers to snap-together wiring, first-time builders love Estes since every part is designed for ease of use.
Quest and Other Educational Kits
Quest and similar kits are designed for classroom or camp scenarios. The setup includes multi-launch controllers (up to six rockets at once), heavy-duty pads with replaceable leads, and plug-and-play igniter compatibility.
Sometimes, Quest uses AAA batteries and includes quick-attach leads for busy environments. Their multi-controller designs are perfect for demonstrating repeated launches or friendly competitions.
Custom and Advanced Rocket Electronics
For more advanced launches, scaling up to larger rockets can open up exciting new doors. You can find remote wireless launchers controlled by smartphone apps and high-amperage power supplies for big engines. Other mods include custom ignition switches (with locking covers for extra security) and data logging modules for recording launch stats like acceleration or altitude.
Working with custom setups requires careful wiring and attention to voltage ratings. Also, you should use thicker gauge wires for higher-current engines.
How the Electronics Work Together
Coordinating launch steps keeps everyone safe and cements concepts of circuits, voltage, and controlled energy release. If you’re working with a group, assign roles and encourage hands-on involvement with each step.
Each launch is a sequence, and each device plays its part.
- Set your rocket on the pad and connect the igniter to the engine nozzle.
- Attach the launch controller’s clips to the igniter leads.
- Insert the safety key and verify the indicator light or beeping tone for circuit continuity.
- Stand back, check your surroundings, and shout your countdown.
- Press and hold the launch button until liftoff.
Preparing for Liftoff
You don’t need a degree in electrical engineering to enjoy rocketry! Still, understanding the launch electronics will improve the launch. Building these skills encourages safe curiosity and sparks a lifelong love of science and discovery.
Experiment with different controllers and safety checks, and always have backup batteries and igniters readily available. Encourage students or children to ask questions and engage in hands-on activities. The more everyone understands each device’s role, the more they’ll enjoy each countdown.
Take Your Rocket Hobby to New Heights
Mastering rocketry electronics unlocks new adventures and learning moments for everyone involved. Now that you understand the electronics you need for a rocket launch, you can set the stage for launches that inspire wonder, teamwork, and plenty of high-fives. Head over to www.acsupplyco.com to find the perfect rocket kit!