If you’ve looked at the Golden Gate Bridge or the Brooklyn Bridge, you’ve probably wondered how much work went into designing and building them. You’d be right to assume the answer is “a lot,” and the same assumptions can apply to balsa wood bridges. You might think because they seem straightforward, they’re easy to build. This is partially true, but sometimes students underestimate the amount of work necessary for such a project. Check out these helpful tips and tricks for building a balsa wood bridge.
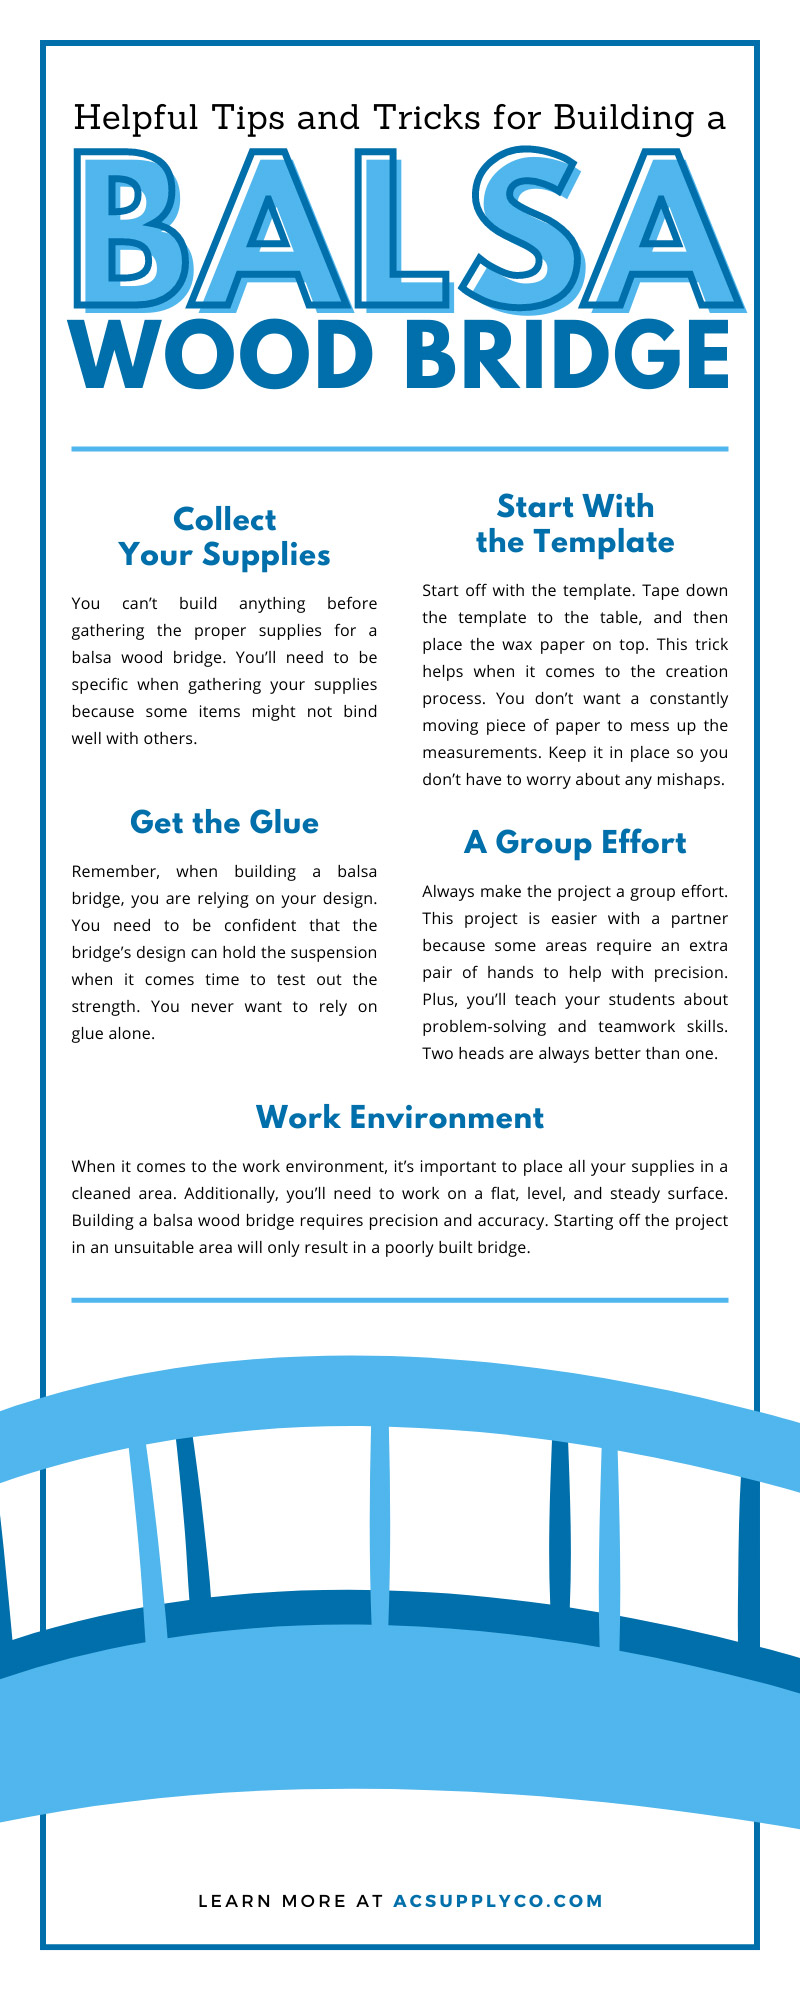
Collect Your Supplies
You can’t build anything before gathering the proper supplies for a balsa wood bridge. You’ll need to be specific when gathering your supplies because some items might not bind well with others. You don’t want to run into those problems, so make sure you start off with all these items from our checklist:
- Balsa wood (the number of pieces depend on the bridge’s size)
- Elmer’s wood glue (get the one carpenters use)
- Wax paper (use several sheets for security)
- A template (of your bridge drawn on a regular sheet of paper)
- An exacto knife (sharp, not dull)
Start With the Template
Start off with the template. Tape down the template to the table, and then place the wax paper on top. This trick helps when it comes to the creation process. You don’t want a constantly moving piece of paper to mess up the measurements. Keep it in place so you don’t have to worry about any mishaps.
Make sure all your dimensions are correct, and then grab your exacto knife, glue, and balsa wood. Make sure each piece of balsa wood matches up. Grab about three proportional pieces for the first round. Match a piece of balsa wood to a portion of the template hiding under the wax paper. Once you have it evened out, tape down the balsa wood.
Now, you can measure out cut with the exacto knife where your bridge ends. When you start to cut and measure out the other pieces, you don’t need to worry about the first piece of wood moving and losing its placement.
Get the Glue
Remember, when building a balsa bridge, you are relying on your design. You need to be confident that the bridge’s design can hold the suspension when it comes time to test out the strength. You never want to rely on glue alone.
The glue is an integral part of the process, but this does not mean you can cake the wood with glue. When gluing, all you need is a small amount on each joint. Too much glue might weaken your design and set you up for failure.
Too much glue adds weight to the model, and it ends up taking a long time to dry. It might also hurt your wallet. The elements won’t mix well, and the entire structure could collapse. Make sure you give the glue plenty of time to dry before placing two sides of the bridge together because you want to give it a chance to be as sturdy as possible.
Common Student Mistakes
Students often have trouble with the design process. They’ll start off with a basic four-structure design and assume it is suitable for the build. This is not the case. Keep in mind that when you test out the entire bridge, it needs to hold the amount of pressure applied to it.
When building your template, try to stay away from the zero force member designs because they hold no force. You don’t want to build a bridge that only consists of the frame because that doesn’t do anyone any good. Design a bridge with multiple beams and supportive suspensions to hold a certain amount of weight.
All the pieces you use to make up the bridge will be under compression, so you want them to hold that compression with no worries. They do more than make up sections of the frame; they need to hold different parts of the load.
At AC Supply, we have dependable and amazing bridge building kits for students and teachers. You’ll quickly get set up when it’s time for your students to give it a go.
Work Environment
When it comes to the work environment, it’s important to place all your supplies in a cleaned area. Additionally, you’ll need to work on a flat, level, and steady surface. Building a balsa wood bridge requires precision and accuracy. Starting off the project in an unsuitable area will only result in a poorly built bridge.
Find a wide table that is no higher than your hips. You don’t need one too high up because it will only strain your body. Strained muscles are shaky muscles, and shaky muscles make shaky hands. You’ll need a steady hand and an area you can maneuver easily when building a balsa wood bridge.
Making this bridge will require you to be at eye level every now and then, so you want to make sure you have all the space you need to stretch out and observe each section from a different angle. Doing so will enable you to ensure precision and accuracy.
As previously stated, make sure the table is wide enough to hold all your supplies in separate areas. This is just a matter of keeping everything in its place so you don’t deal with confusion at any point.
A Group Effort
Always make the project a group effort. This project is easier with a partner because some areas require an extra pair of hands to help with precision. Plus, you’ll teach your students about problem-solving and teamwork skills. Two heads are always better than one.
Someone might point out or pay attention to areas and sections of the design that will not work and fall through. You want them to nail down the final design before they start working on the build.
Hopefully, these helpful tips and tricks for building a balsa wood bridge get your class excited for their next project. For more information, visit our website.