

When it comes to teaching complex concepts like tensile and compressive forces, hands-on engagement is the key to helping kids truly understand. Critical in engineering and construction fields, these foundational principles can also spark curiosity about the way the world works.
Whether you’re an educator in a formal classroom, a homeschooler looking for exciting projects, or a camp counselor, discover some tips for teaching tensile and compressive forces. With a few fun activities, you can make these abstract topics fun and interesting.
What Are Tensile and Compressive Forces?
Tensile force is the force that pulls or stretches an object—think of pulling on a rubber band or the way cables keep a suspension bridge in balance. Essentially, tensile force works to lengthen materials.
Compressive force, on the other hand, is the squishing or compressing force that shortens an object. Imagine pushing a spring together or the way a tall building’s weight presses down on its foundation. In short, these forces work to reduce the length or size of materials.
Now that you know the basics, you can guide your students to visualize real-world examples all around them. From towering skyscrapers and suspension bridges to the way your bones bear weight when you stand, both tensile and compressive forces show up everywhere.
How To Explain These Concepts in an Engaging Way
Effective teaching often comes down to translating complex concepts into bite-sized lessons that your students can relate to. To learn how to make tensile and compressive forces engaging for kids, follow along for some helpful advice.
Start With Simple, Everyday Examples
Kids (and adults!) learn best when you relate scientific concepts to things they already know. For example, show them a rubber band, pull it, and ask them to describe what they think is happening. Then, carefully explain to them that the rubber band is experiencing a tensile force.
Next, grab a foam block or sponge, and compress it with your hand. Ask the group the same question, and explain how the force you’re applying is called compression. By applying these concepts to everyday items, you can make them much easier to understand and remember.
Use Visuals and Diagrams
When you incorporate animations or diagrams, visual learners will thrive. Try drawing a simple bridge using arrows to show where tensile and compressive forces act. For example, label where the cables stretch (tension) and where the supports compress.
Additionally, you can use short, engaging videos or animations to demonstrate these forces in action. Many free resources can help educators illustrate these forces in science or engineering contexts.
Demonstrate With Simple Activities
Teaching through demonstrations solidifies theoretical knowledge. To demonstrate tension, get a long, strong rope, and have two students pull it from either end. Discuss how the forces pulling the rope outward in both directions create tension.
For a compression demonstration, build a stack of blocks, and place a small, heavy object, such as a dumbbell, on the top. This visual helps students grasp how the blocks handle the compressive force exerted by the weight.
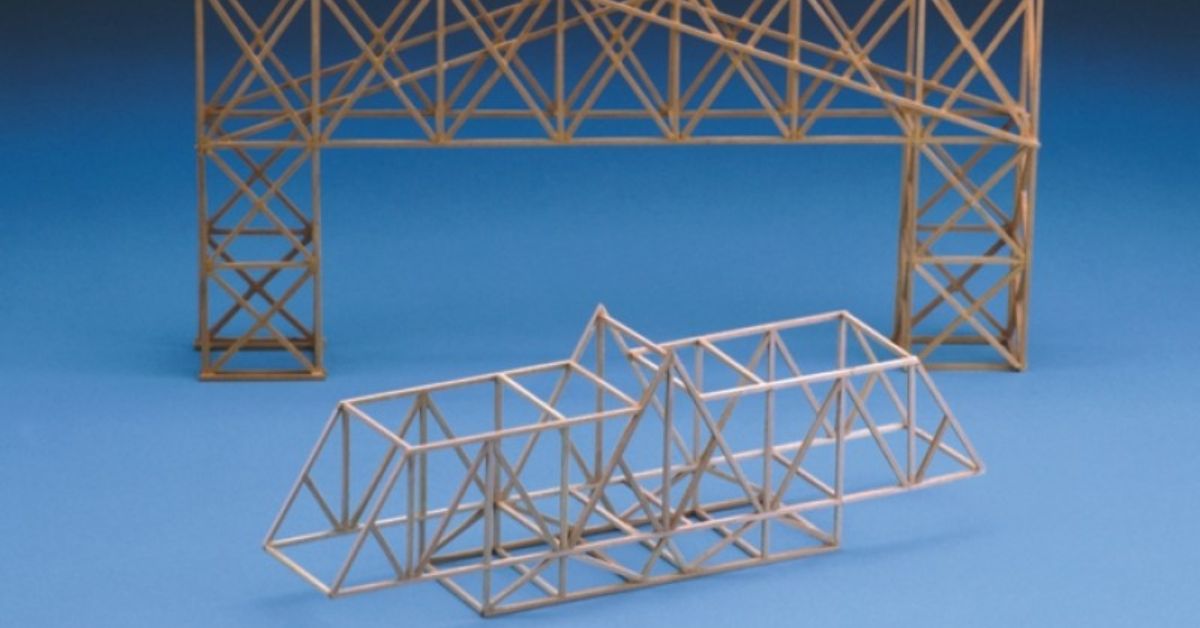
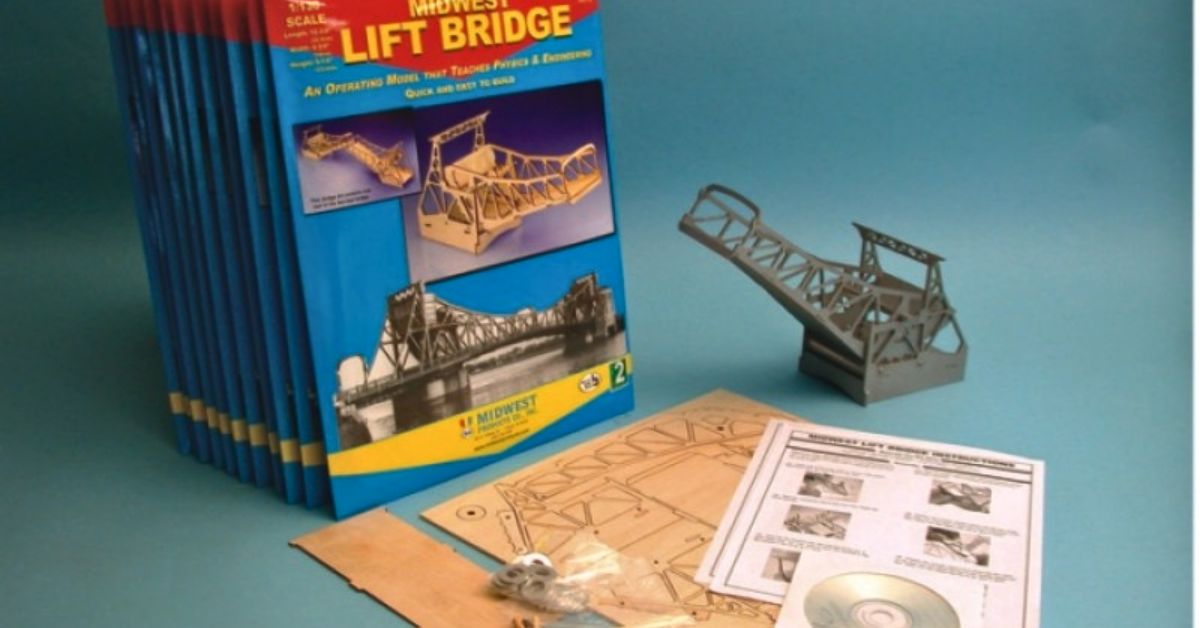
Build Hands-On Understanding With Model Bridge Kits
One of the most exciting methods to introduce tensile and compressive forces is by building model bridges. By combining theoretical learning with real-world applications, model bridge kits are a fun and interactive activity that helps students grasp these concepts.
Model bridges offer a unique opportunity for students to experiment, fail, and learn through trial and error. Even if you’re new to teaching engineering concepts, many bridge kits often include clear instructions that make it easy to set up exciting challenges or lessons.
Tension and Compression in Action
Bridge decks, cables, and arches can demonstrate where tensile and compressive forces occur in real-world structures. Students can spot the tension in suspension cables and see how the towers compress under the weight of the bridge deck.
Problem-Solving and Creativity
For extra fun, challenge students to design and build their own bridges. Set parameters such as weight limit or material restrictions, then test which designs hold the most weight. Turning it into a competition will keep your students engaged and invested in their creations.
Tips for Working With Bridge Kits
Explain the Engineering
Before building, explain the role of each part of the bridge. For instance, show them how suspension cables handle tensile forces or how towers distribute compressive forces to the ground.
Scale the Challenge to the Age Group
For younger kids, keep it simple. With older students, introduce more complex bridges like trusses or cable-stayed designs, and challenge them with load-testing experiments.
Use Real-World References
Compare your students’ model bridges with iconic ones like the Golden Gate Bridge or Tower Bridge. This reinforces the practical applications of their learning and shows how real-world engineers solve similar problems.
Show How Engineers Use These Forces
Once students understand the basics, take it a step further by exploring how professionals use these forces in the real world.
Architecture
Point out how compressive forces act on the supports of massive skyscrapers while tensile forces hold floating walkways or tensile fabric structures in place.
Bridge Design
Show videos or diagrams of famous bridges. Then, highlight how tension in cables allows suspension bridges to span enormous distances while compression provides towers with the stability they need to bear loads.
Automotive and Aerospace Engineering
Cars, planes, and spacecraft involve intricate designs to manage tensile and compressive forces efficiently. By using these examples, you may even inspire students to consider engineering as a career.
Encourage Experimentation
Make it clear that there is no “wrong way” for students to explore tensile and compressive forces. Encourage experimentation, and don’t shy away from failures. Remember, helping them learn to adjust and adapt their designs is a vital part of STEM education.
To make experimentation fun, create a testing lab where students can hang weights from their bridges, tighten rubber bands, or push and pull their structures to test which designs hold up. You’ll turn your learning space into an interactive, fun environment that kids of all ages are sure to enjoy.
Inspire a Lifelong Curiosity for Engineering
Tensile and compressive forces represent fascinating principles at the heart of engineering. Now that you’ve gotten some tips for teaching tensile and compressive forces, you can nurture kids’ creativity and problem-solving skills while educating them on complex concepts.
If you’re looking to make your physics lessons even more impactful, explore the selection of high-quality model bridge kits and STEM tools available on www.acsupplyco.com. With these engaging, hands-on activities, you can combine education with fun.