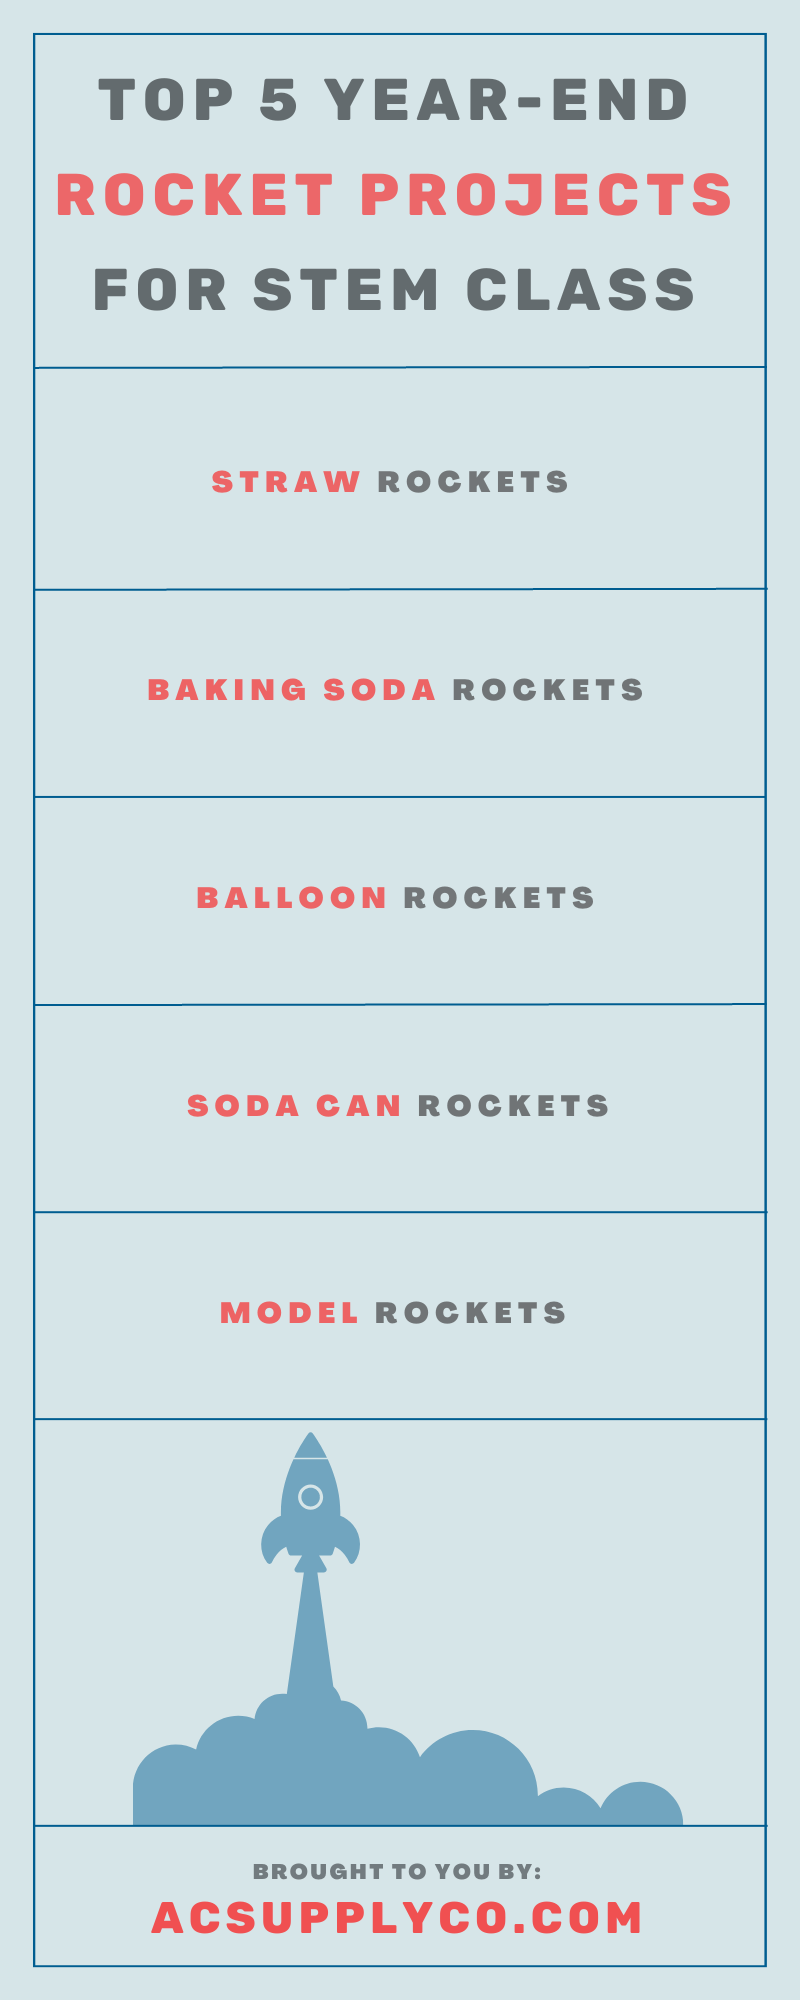
It’s never too early to start thinking about the last few days of school. In fact, teachers often need to prepare lesson plans months in advance leading up to summer break. And before that last bell rings, you want your students to leave with lasting memories—aside from the lessons you taught them. Consider these top five year-end rocket projects for STEM class and finish the year with a bang.
Straw Rockets
Straw rockets may not seem like the most exciting rocket project, but they are the safer bet for younger students. All rockets need a source of energy to get off the ground. Print a copy of the rocket template, and then grab a pair of scissors, a straw, a sharpened pencil, some tape, and a tape measure.
Cut out the rocket body on the template and wrap the paper snuggly around the pencil. Tape the paper to itself. Cut out the fins and tape them to opposite sides of the pencil near the end of the fuselage (closest to the eraser). Fold the fins at 90-degree angles.
Move the fuselage to the sharpened end of the pencil. Twist the paper around the point to make a nose cone and then tape it. Remove the pencil from the rocket and insert the straw engine. Launch the rocket by blowing swiftly into the straw. Make sure no one is close by. Once the rocket lands, measure the distance.
Balloon Rockets
Balloon rockets are a little more exciting, and they’re one notch above straw rockets. You can teach balloon rockets to elementary and middle school students. All you need is a string, a straw, some tape, and a balloon. Most of the materials are the same, except we swapped a pencil with a balloon.
First, tie one end of the string to something heavy and sturdy. Your best option would be a chair. There are handles and legs attached—and plus, it’s stationary. Place the other end of the string through the straw and tie that end to something heavy too. Here we suggest either another chair or a doorknob. The string should be a straight line.
Next, blow up the balloon all the way and pinch the end, so no air escapes. Pull the straw all the way to the first end of the string. Tape the balloon to a straw and keep a hold on the opening. Don’t let any air out. Now step back, prepare for launch, and let the balloon go.
Baking Soda Rockets
Baking soda rockets are plenty of fun for all ages. It’s really cool to see basic household and kitchen items become a science experiment. Get yourself a lightweight plastic bottle for this experiment. Do not use glass. Next, get some baking soda, colored pencils, vinegar, a wine cork, and tape.
Tape the colored pencils around the bottle so that the flat end of the pencils touches the ground when the bottle is upside down. Make it an even number of pencils around the bottle. Four should do the trick. Next, uncap the bottle and pour the vinegar inside. Don’t be afraid to add a healthy dosage inside.
This next part goes really fast. Make sure you monitor your students. For maximum safety, you can have an adult stationed never every student before they attempt this portion of the experiment. Add the baking soda and quickly push the cork in. The cork needs to be in fast because the baking soda will start reacting with the vinegar immediately. Then, flip the bottle upside down, dig the pencils in enough to be sturdy, and step back for blast-off.
Soda Can Rockets
Soda can rockets can either convert into rockets or rocket engines. These are experiments you can conduct inside a classroom. For this experiment, let’s focus on the soda can engine demonstration. You’ll need to collect the following items:
- 3 or 4 aluminum soda cans
- Carpenter nails of different sizes
- Pair of heavy work gloves
- 50 cm string
- Water tub (large plastic storage bin)
- Water
- Towels
- Bright permanent markers
Put on heavy work gloves to protect your hands when you start punching holes inside the can with the carpenter’s nails. Place the nail point at the bottom of the rim of the can. Apply pressure with the nail and rotate the can a quarter turn, and then punch a second hole.
Repeat this step two more times until there are a total of four holes. Tie a string to the can pop top. Use this time to start asking your students their predictions. This is where you want to test them and see what they’ve learned throughout the school year. Place the can inside the bucket of water and observe the effects.
Model Rockets
Now, this is where the real fun begins. Model rockets are a real blast for everyone, and they come in several different models. Some of the models and builds take more than a day to complete. Depending on the type of engine and the type of model, you might be building this rocket for a couple of weeks.
Look over the different options you have at your disposal. Here at AC Supply, we have model rockets of all levels, 0 to 4. Choose the one that works with the best grade level for your students. If you go with our highest design, you’ll only need one model per class.
Your students will need to work through calculations, worksheets, and predictions before starting the building process. Go over the safety precautions diligently, and don’t skip any of the steps. Set up the experiment so that you’ll have a complete model by the time the final week of school rolls around.
You may need to have a couple of test runs, so make sure you give yourself plenty of time and stock up on engines. You can reuse model rockets more than once, but the same rules do not apply to model rocket engines.
Make the end of your school year memorable with any of these five rocket projects for STEM class.